



Carpet Tile Gaps, Curling or Loose Edges: Check the Subfloor Pattern First
TL;DR
Map the symptom before lifting more tiles. A repeating line at access-floor joints points to a different investigation than an isolated doorway curl or gaps spread across one adhesive zone. Mark every location, photograph the tile code and underside, check flatness, rigidity, residues, moisture records and the specified fixing method, then assign the next check to the flooring contractor, substrate trade or project team. This sequence turns a vague complaint into a usable site decision without guessing the cause from one photograph.
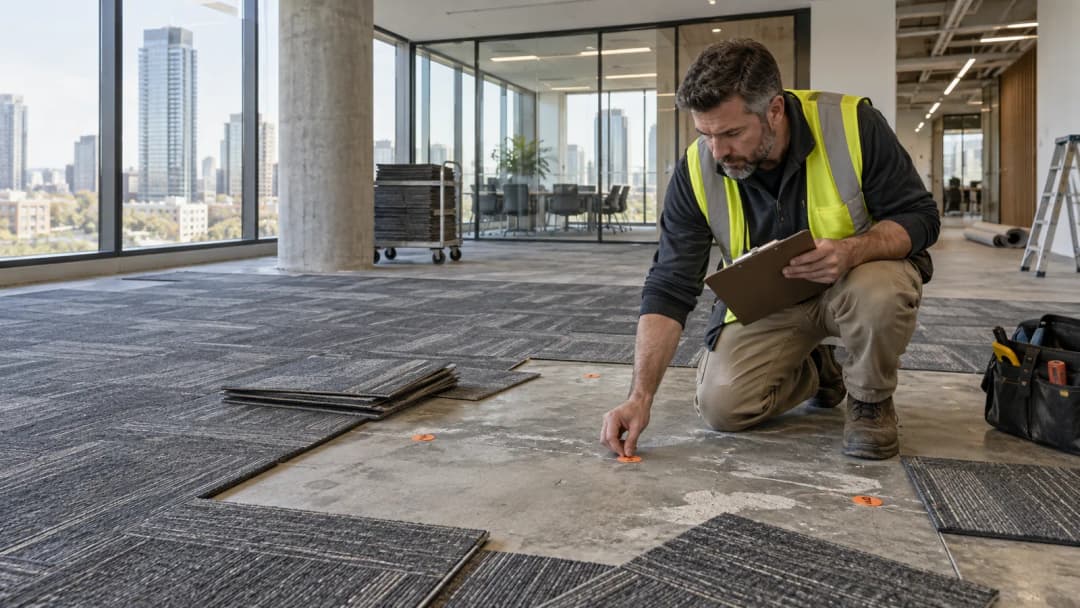
Start with the pattern on the floor
Do not begin with a single curled corner. Walk the whole affected zone and mark where each gap, lift or loose edge appears. A line that repeats over raised-floor seams, a doorway-only issue and a patch within one work zone are three different investigation paths.
Keep one tile position as the reference point. Record the arrow direction, adjacent row, doorway or column grid, and whether the symptom follows traffic, sunlight, furniture or a change in substrate. The map determines which physical check comes first.
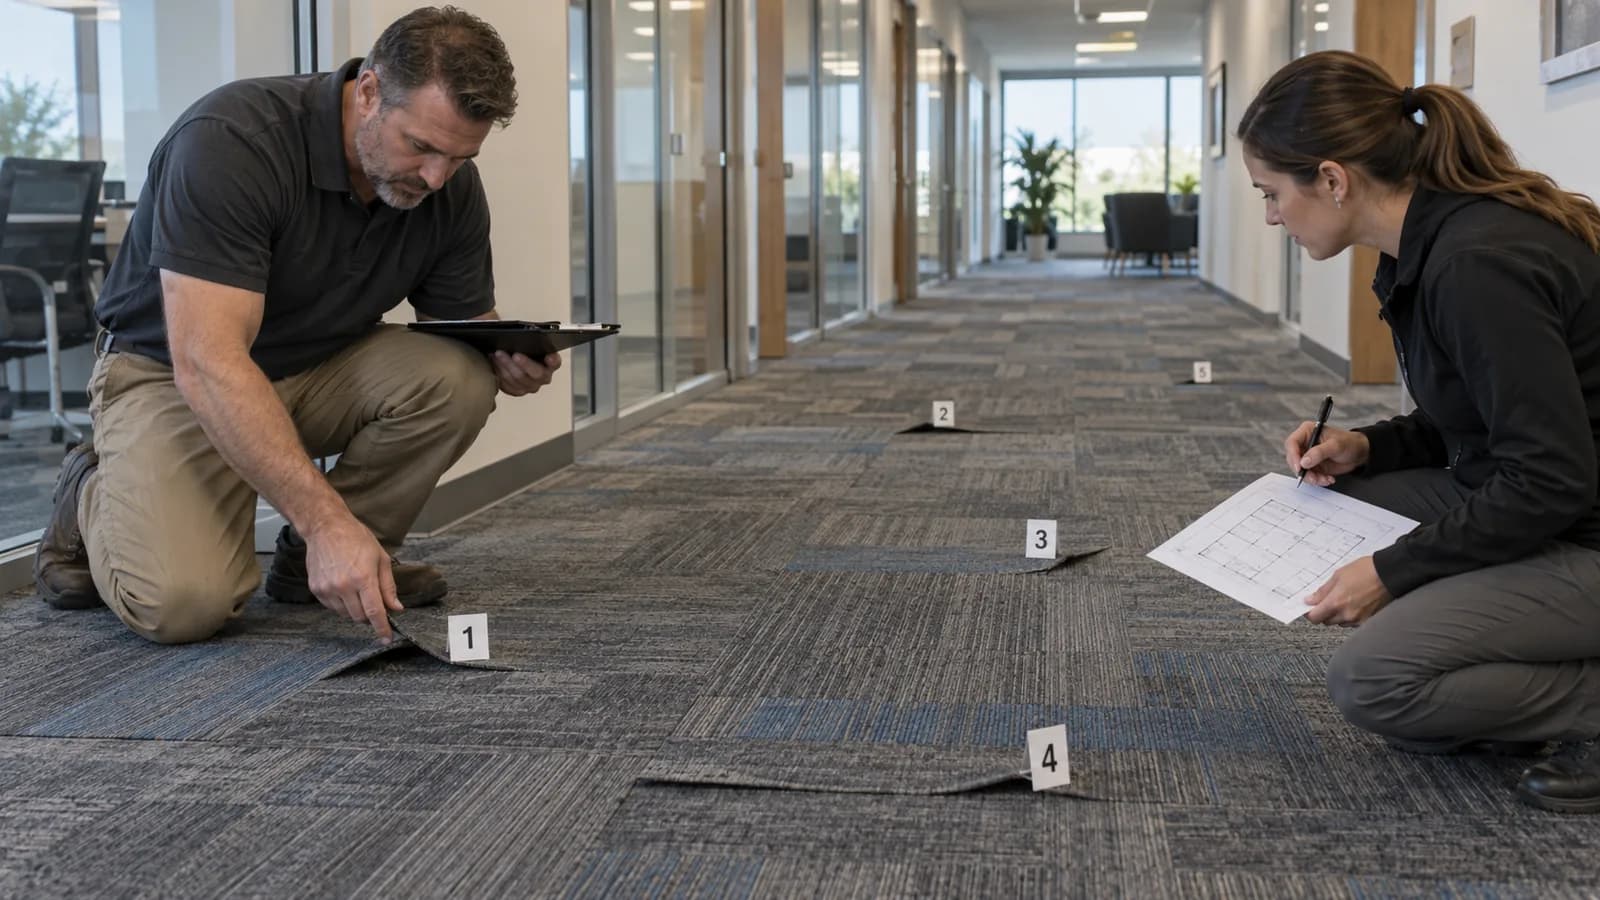
Build a site record the project team can use
Create one record for each affected zone: overview photo, close-up, exact floor-plan position, product code, backing, installation date and observed pattern. Add the underside and substrate photo only when the project team approves lifting a tile.
Use neutral observations such as ‘three open joints along panel line B’ or ‘two raised corners within the doorway turning zone’. These descriptions let the supplier, installer and substrate trade discuss the same evidence.
| Observed pattern | First physical check | Useful record | Lead role |
|---|---|---|---|
| Repeating line of gaps | Panel or construction joint, rigidity and layout | Marked line on plan and joint photo | Installer + substrate trade |
| Loose edges in one work zone | Surface preparation, residue and fixing coverage | Zone boundary and installation batch | Flooring contractor |
| Curl at doorway or turning point | Edge damage, transition detail and movement | Door clearance and transition photo | Designer + installer |
| Broad change after a site event | Site-condition and moisture records | Event date, affected area and readings | Project team |
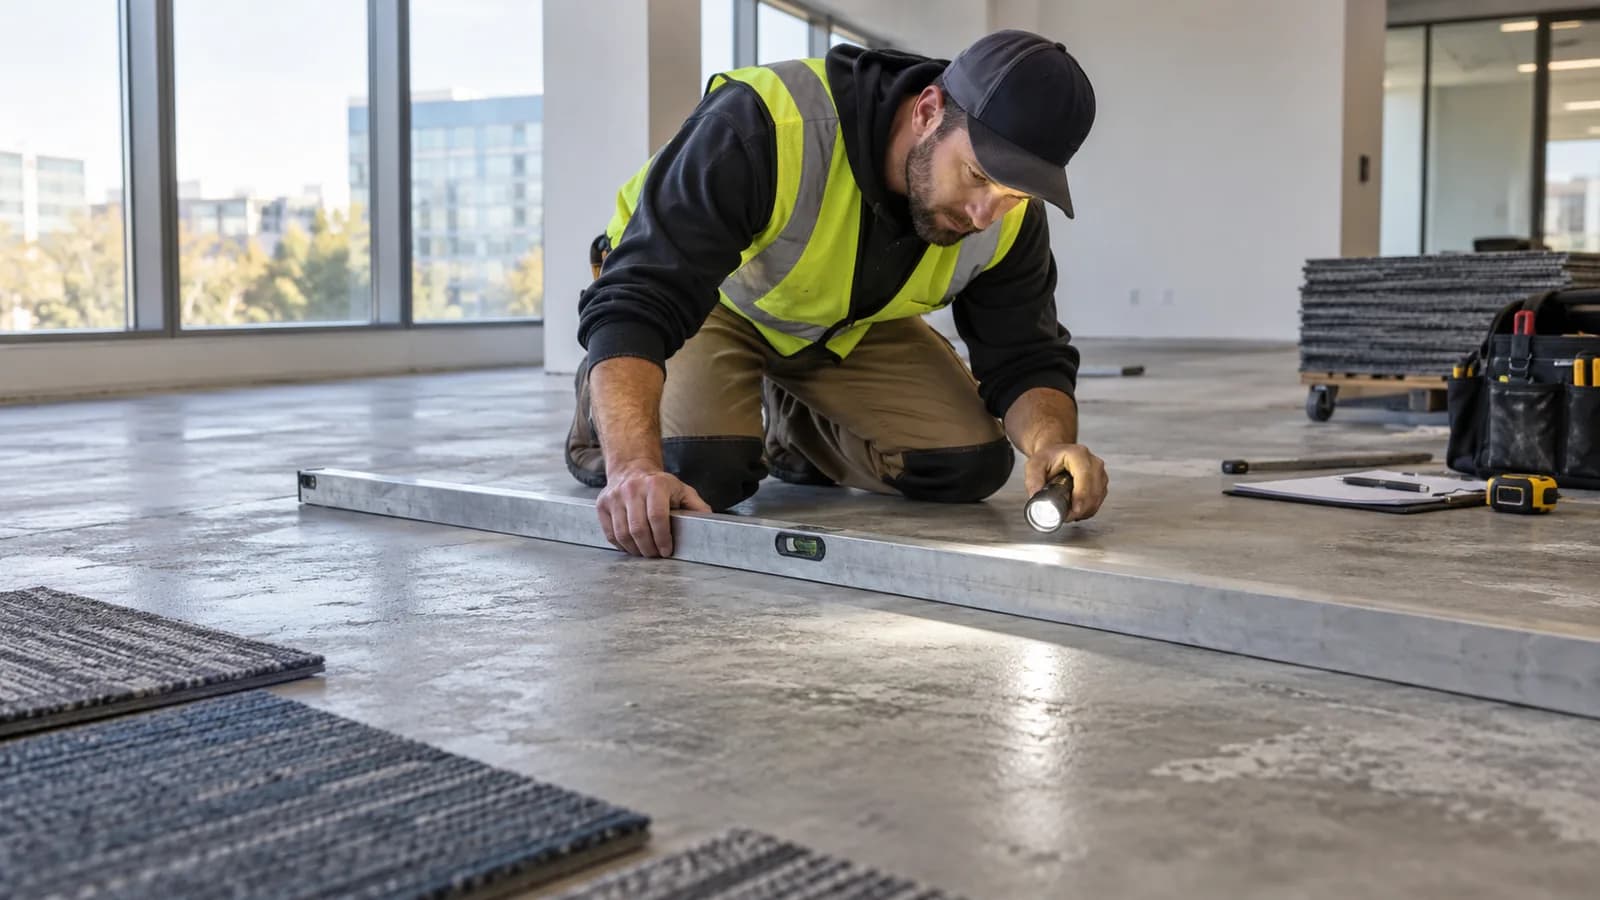
Match symptoms to the first physical check
A straight repeating line deserves a rigidity, joint and layout check. Random isolated loose edges deserve a contamination, damage and local fixing check. A broad zone that matches one installation period deserves a review of preparation, site conditions and fixing records.
Moisture and pH checks must follow the substrate, project and material manufacturers’ current methods. A surface that looks dry is not a substitute for the required project record.
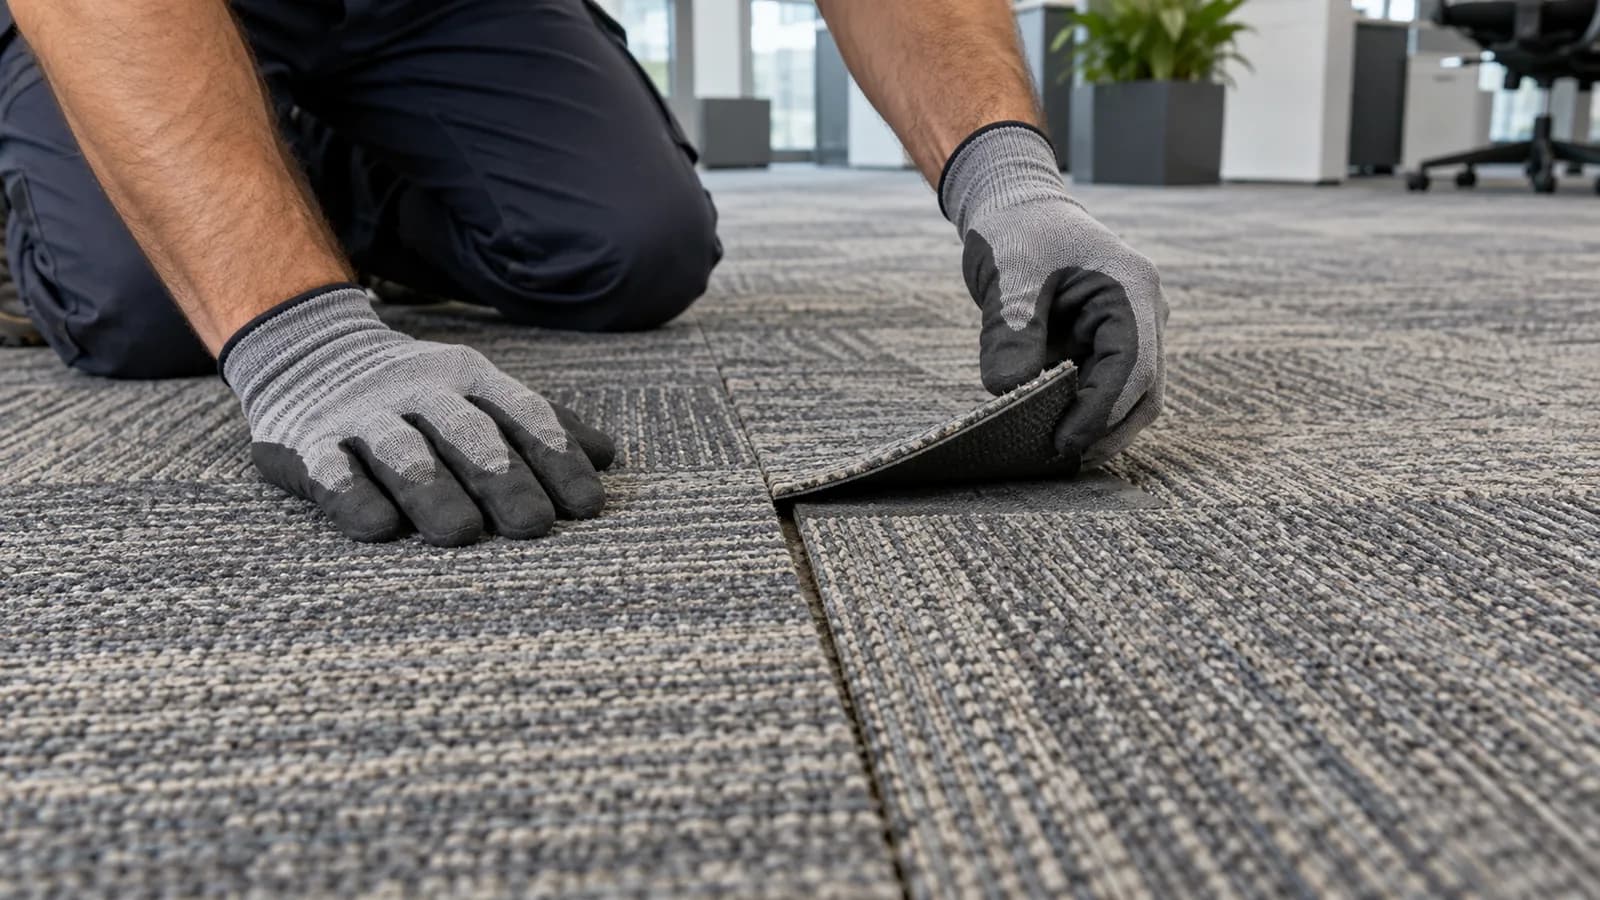
Decide whether to inspect, repair or pause
Proceed with a small controlled inspection when the tile identity is known, the area is safe and the team can preserve the evidence. Pause wider lifting or reinstallation when the substrate is moving, wet, contaminated, damaged or outside the agreed site conditions.
The decision point is practical: if the next action would destroy evidence or cover an unresolved condition, document it and obtain the responsible trade’s confirmation first.
Send a decision-ready brief
Send a one-page brief containing the marked plan, exact product identity, symptom table, substrate type, fixing method, installation date, photos and the decision needed. State whether the request is for a replacement sample, current product record, installation-document check or coordinated site review.
For a new project, use the same fields before installation: confirm substrate, expected preparation, access-panel joints, doorway transitions and the fixing method for the exact shortlisted code.
Browse carpet tile products · Review the installation-system guide · Build an RFQ · Download current documents · Send a project enquiry
Frequently asked questions
Do gaps between carpet tiles always mean the tile dimensions changed?
No. Gaps can follow layout, access-panel movement, substrate movement, edge damage, installation spacing or the fixing system. Map the pattern and check the complete assembly before assigning a cause.
What should be photographed before lifting a loose carpet tile?
Photograph the room location, tile orientation, joint pattern and exact product or carton label. After lifting, record the underside, substrate surface, residue and any access-floor joint below.
Can a curled corner simply be re-adhered?
Only after the local cause and approved fixing method are confirmed. Refixing over contamination, an unstable panel or an unresolved moisture condition may hide the symptom briefly without resolving the assembly.
What information should be sent to UNIJOY for a product check?
Send the exact product code, backing, site and room, marked photos, substrate type, installation date, fixing method and a short symptom map. UNIJOY can then match the request to the current product record and document route.