



Carpet Tile Layout Patterns: Choose Direction, Light and Boundaries
TL;DR
Start with the layouts permitted for the exact carpet tile code. Then compare at least two full-size mock-ups in the room: align arrows for a monolithic field, rotate them only when quarter-turn is allowed, and use an approved offset or herringbone arrangement for planks. Judge each option from the main doorway and under daytime and artificial light. Put start lines, arrows, offsets, colour zones, thresholds and perimeter cuts on the issued drawing; the pattern name alone is not an installation instruction.
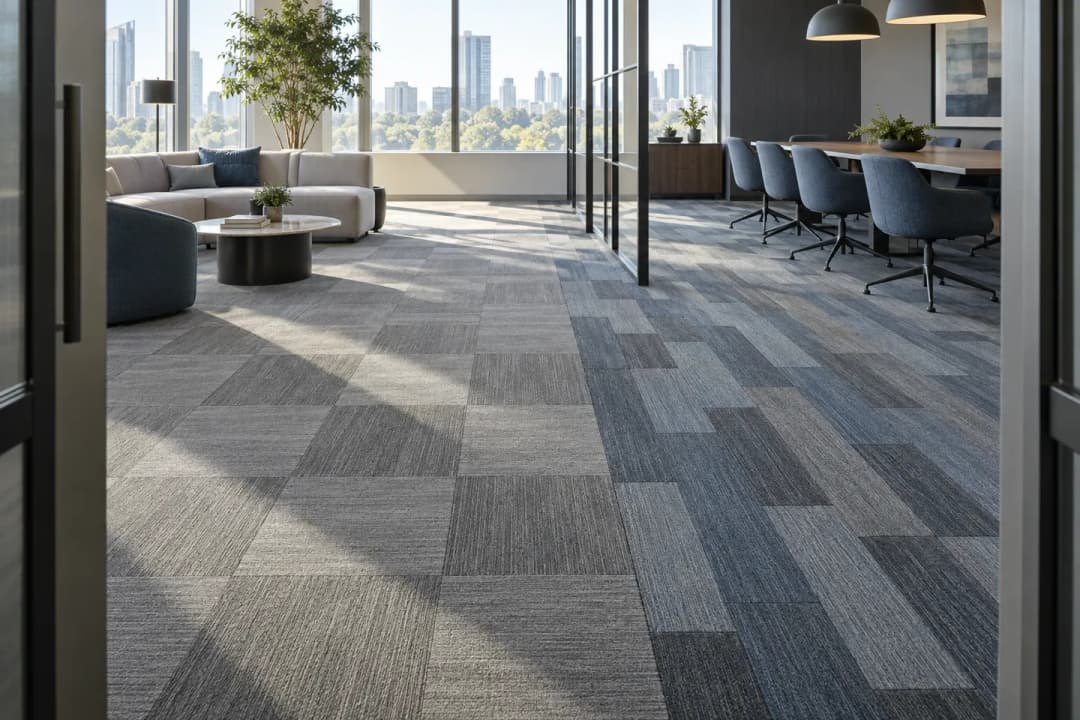
Start with the product and the room
The practical order is simple: exact product first, permitted layout second, room test third. The direction mark controls orientation; the product sheet and carton identify which arrangements are intended. A rendering may help compare ideas, but the final choice comes from full modules viewed from the entrance under the project's light.
Monolithic and quarter-turn can use the same square module yet read very differently. Ashlar and brick shift joint lines; herringbone changes both angle and perimeter cutting. Use the layout to organize circulation and zones, then verify that the chosen product, backing and current instructions support the drawing.
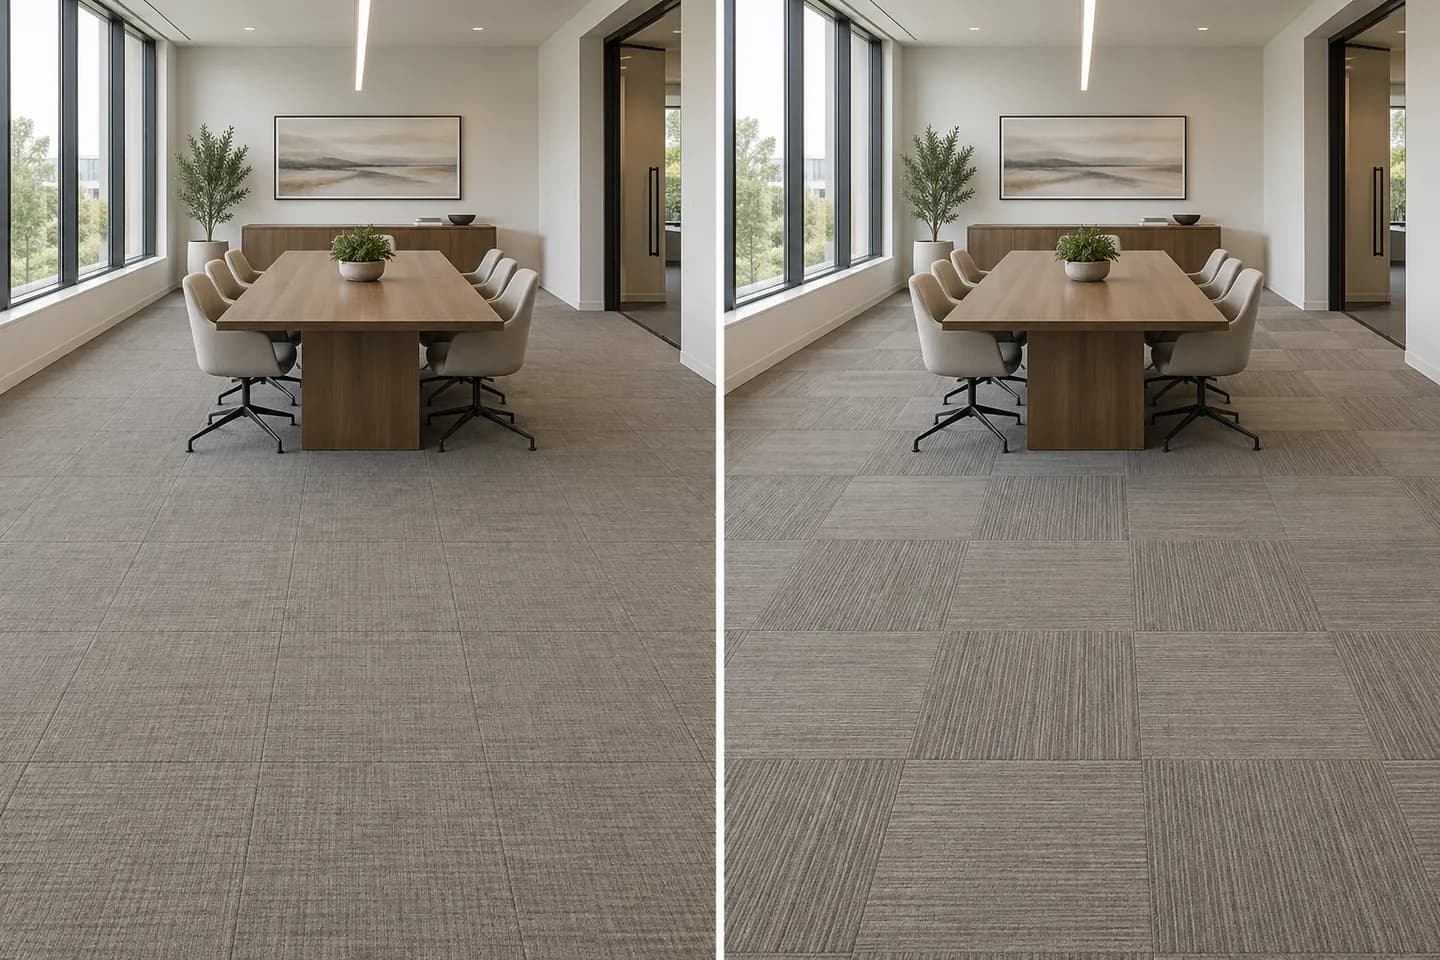
Compare two layouts on the same plan
Plan A keeps square modules and arrows aligned from the main doorway.
Plan B uses staggered planks to carry the corridor sightline into the room. Both plans use the same room outline so the buyer can compare joints, cuts and visual direction.
The same room can support different visual priorities; compare start lines, joints, perimeter cuts and the doorway sightline together.
Match pattern to direction and joints
| Layout | Direction rule | Visual use | Drawing check |
|---|---|---|---|
| Monolithic | All arrows aligned | Continuous directional field | Mark one arrow for every zone |
| Quarter-turn | Adjacent squares rotate 90° | Alternating square rhythm | Show the rotation sequence |
| Ashlar / stagger | Rows or columns offset | Lengthens a route and breaks cross-joints | State offset and start line |
| Brick | Rows offset across the short axis | Horizontal rhythm | Coordinate door and wall cuts |
| Herringbone | Planks meet at alternating angles | Strong focal movement | Set perpendicular control lines |
| Non-directional / random | Only for products identified for it | Varied field with fewer repeated directions | Name the exact approved method |
Use light, doors and boundaries deliberately
Review the floor from the main doorway, workstation approach and corridor. A direction that looks calm from the window wall can make joints more visible from the entrance. Photograph and label the preferred mock-up from the agreed viewpoints.
Test daylight and the installed artificial lighting. Pile direction, pattern contrast and grazing light can change apparent shade. At a doorway, decide whether the pattern continues, turns, changes colour or stops at a transition; draw that boundary instead of leaving it to site interpretation.

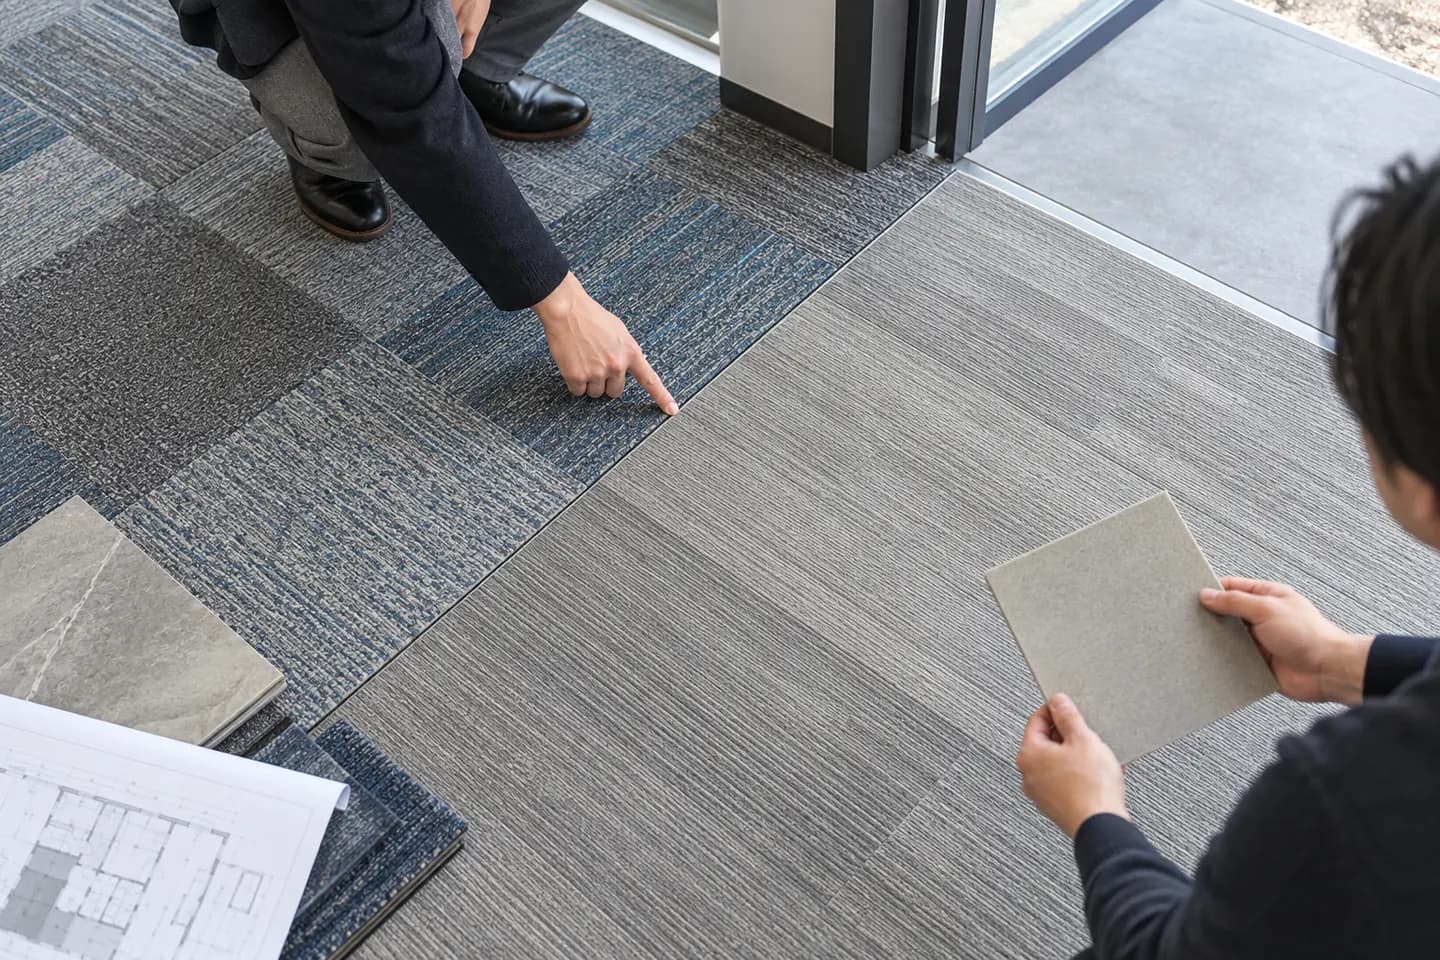
Issue one buildable layout
Issue one drawing with product code, colour, module, permitted layout name, direction arrows, baseline dimensions, zone boundaries, transitions and revision. Add a full-module mock-up reference and the approval owner.
Before installation, walk the rooms with the installer and confirm columns, floor boxes, door swings, fixed furniture and finished floor levels. Recalculate edge cuts from the final drawing and keep carton rounding and spares separate from the cutting allowance.
Browse current collections · Compare square and plank formats · Send a layout and sample enquiry
Frequently asked questions
What is a monolithic carpet tile layout?
Every tile direction mark points the same way, creating one aligned field. Use it only when the selected product lists that method.
What is a quarter-turn carpet tile layout?
Adjacent square tiles rotate 90 degrees, creating an alternating directional rhythm. Product instructions must permit it.
Should carpet tile direction follow the windows or the corridor?
Test both priorities in a full-size mock-up. Use the main entrance sightline, daylight, circulation route and pattern repeat to select and document the final direction.
Does a carpet tile layout have a standard waste percentage?
No fixed percentage fits every room. Count cuts from the approved plan, then add full-carton rounding and agreed spare stock separately.